After clearing out our basement for a remodel we are starting (more on that later), we came across a large piece of plywood. All it needed was a couple easy cuts and it was the perfect size. Next, a trip to the craft store had me armed with fabric, batting and a nail head trim.
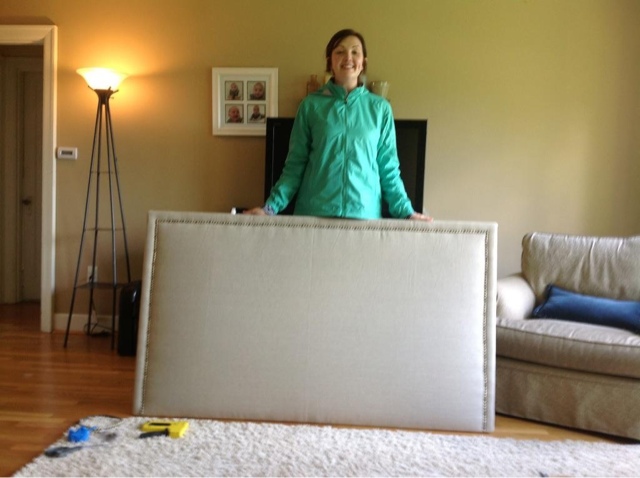
Completed in one day and under a hundred bucks!
The bulk of the money was spent on the fabric. I wanted it to be affordable, but still use high quality materials. I went with a thick linen in a smooth flax color.
Here is a list of materials needed:
3 yards of upholstery grade fabric
Nail head trim kit
Queen size high-loft batting
Mallet
Needle nose pliers
Scissors
Staple gun with 1/2" staples
3/4" plywood (36"x70")
French cleat (for hanging on the wall)
Start by laying your fabric flat on the floor. Next place the batting, folded in half, on top of the fabric. Then place the plywood on top of the batting. Make sure all sides are even and straight. Start by stretching the batting tightly over the plywood and staple in the middle. Move to the opposite side and repeat. Continue working like this until the batting is secure. For the corners, make a diagonal cut with scissors close to the corner (but not all the way), then fold and staple one over the other.
Next, do the same process with the fabric. For the corners, start at the point and fold the middle in first and staple. Then fold in the sides and neatly lay the fabric flat before stapling.
Once the fabric is secure, turn the headboard over. Mark the edges with painter's tape. Use the edge as a guide for the nailhead trim. Using the mallet, hammer the tacks in place. At the corners, always start the next side with a tack. You may need to snip the trim of a few 'faux' tacks to make this possible. Remove the tape and voila! Your new upholstered headboard is complete.
Using a French cleat, or picture hanging cleat, secure the headboard to your wall. Just don't forget to secure it to the studs. I used a stud finder. Just a heads up, the headboard took me about an hour to finish. Hanging the thing took up the rest of my day. Finding the cleats, measuring, measuring again, finding the studs, measuring again. Two trips to Home Depot, one trip to Ace Hardware. You get the idea.
The verdict: I'm thrilled with my new headboard. I can't wait for my husband to come home from Alaska to find a completed room. Including a bed skirt, honey.


No comments:
Post a Comment